HEIC to JPG: check small text and fine details before sharing
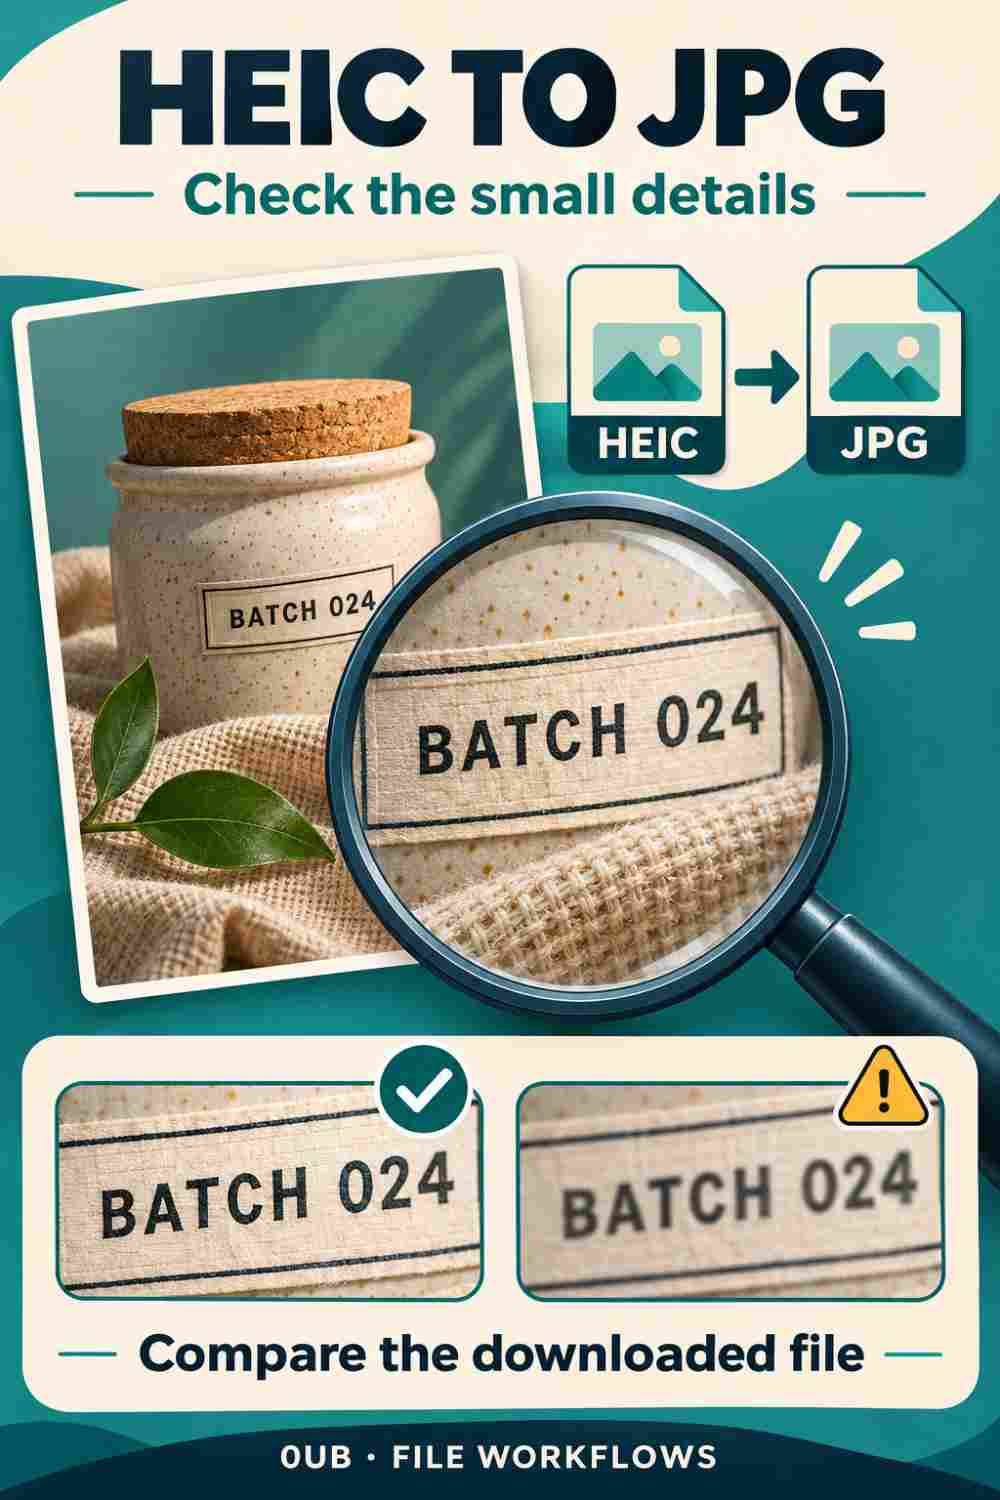
Compare a downloaded JPG with its HEIC original to check labels, fine texture and small text. Learn when to retry quality settings and when to keep the original.
How do you check detail after HEIC to JPG conversion?
Open the downloaded JPG and compare it with the original HEIC at a similar viewing scale. Inspect a small label, a high-contrast edge and a textured area. A thumbnail can hide damage that becomes visible when someone enlarges the photograph. Keep the original until the exported copy passes the checks required for its intended use.
This is a visual quality check, not proof that every property of the original file has been preserved. A JPG sharing copy and its HEIC source are different files. The illustration uses a sample product label to show where to look; it is not a benchmark or a photograph processed in a controlled test.
Choose one representative photograph first
For example, suppose you need to send photographs of ceramic jars to a colleague. Choose one image containing a batch label, a curved rim and visible fabric texture. A simple photograph with a plain background may miss the exact problems that matter in the rest of the folder.
Use a separate export folder and leave the source names and originals intact. In the 0UB HEIC to JPG converter, prepare this one file before considering a larger group. Single-file basic conversion is available; multiple-file processing and ZIP downloads require the relevant signed-in Pro access.
Compare three areas in the downloaded JPG
First, read the smallest useful lettering: a model code, label or handwritten note. Second, inspect a sharp boundary such as the jar rim against its background. Third, examine a textured area for visibly smeared detail or block patterns. Match the displayed size as closely as practical so that different viewer zoom levels do not become the main difference.
Check the file you actually downloaded, rather than relying only on the converter preview. If the receiving application creates its own preview, inspect that view separately. A source image, an exported file and a messaging thumbnail can look different for different reasons.
When should you retry the quality setting?
If the source contains readable detail but the JPG looks noticeably softer, export a second sample at a higher JPG quality setting and compare the two downloads. Higher quality can increase the file size, so check the recipient's actual upload limit as well as the visible result. There is no single setting that suits every photograph and destination.
If the HEIC original is already out of focus, increasing the export quality will not restore missing lettering. Keep the original for reference and consider taking a clearer photograph if accurate identification depends on that detail. Avoid using a product photograph as the sole source of essential specifications.
A practical handoff checklist
Before sending the JPG, confirm that the file opens, its orientation is correct, the necessary label is legible and the file fits the destination's requirements. Include any essential batch code as ordinary text in the message or document, where the recipient can copy it without reading tiny pixels.
For a larger collection, repeat the check on a few meaningfully different scenes before exporting the rest. Retain the HEIC originals and send only the approved sharing copies. The goal is a useful handoff with visible detail, not simply a folder in which every filename ends in JPG.
Related guides
- Check portrait photo orientation after HEIC to JPG conversion
- Prepare HEIC photos for email without losing your originals
- Compare JPG quality with one product photo first
Prepared with AI assistance and reviewed against documented tool features; no firsthand testing is implied.