Pixels are not megabytes: prepare images for an upload limit
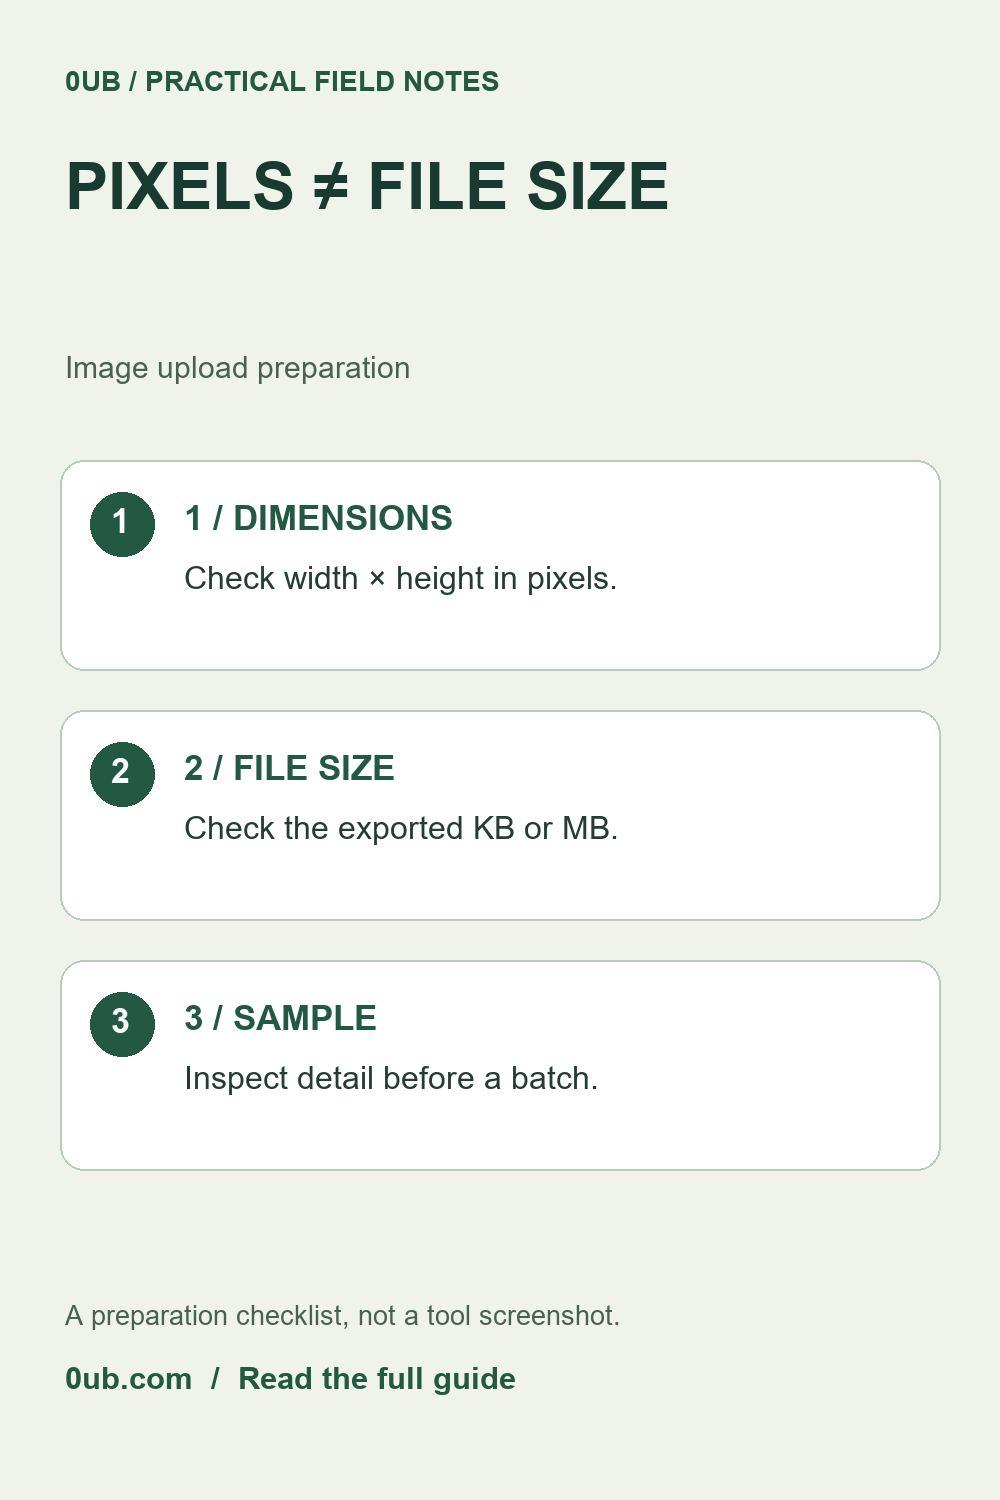
An image can have the right dimensions and still exceed an upload limit. Check pixels and file size separately, then export one representative sample.
Read the destination requirements first
A form may ask for a picture that is 1200 pixels wide and smaller than a particular number of megabytes. These are two separate checks. Width and height describe the pixel grid; file size describes how much storage the encoded file uses. Meeting one requirement does not establish that you have met the other.
Write down the destination's accepted formats, dimension rule and file-size limit before exporting. Treat any dimensions in this guide as examples, not as requirements for a particular marketplace. If the destination says “at least” rather than “exactly,” keep that distinction in your checklist.
Export one representative image
Choose a photo that includes fine detail, such as fabric, packaging text or hair. Keep the original in a separate folder. Open the Batch image studio and choose an appropriate output format and size mode. A fit-inside export preserves the proportions within a box and may produce dimensions smaller than that box; it does not promise an exact square.
Export the sample, then inspect its actual width, height and file size in your computer's file properties. The dimensions entered into a tool are not a substitute for checking the file you will upload. Record the result with the format and settings so you can repeat the useful combination.
Reduce weight without guessing
If a photographic JPG is still too large, compare another export at a lower JPG quality setting. If the destination permits smaller dimensions, reducing unnecessary pixels is another option. Change one setting at a time so you can see what caused the difference. There is no universal quality percentage that guarantees a particular file size.
Open the result at a useful viewing size and zoom into small labels or edges. Watch for blockiness, smeared detail or hard-to-read text. Converting a transparent image to JPG also needs a deliberate background decision; a lighter file is not useful if it loses a required visual feature.
Check the batch and the actual upload
Apply the chosen settings to the remaining images only after the sample is acceptable. Files with the same dimensions can have different sizes because their visual content differs. Inspect the largest results instead of assuming every image will match the sample's number of kilobytes.
Finally, upload a representative export to the destination and inspect its preview. The destination may resize or recompress the picture again. Keep a simple record of the original, the exported copy and the accepted upload. This workflow is a preparation checklist, not a guarantee that any external platform will accept every file.
Related guides
- Why a fit-inside image can be smaller than your target box
- Compare JPG quality with one product photo first
Prepared with AI assistance and reviewed against documented tool features; no firsthand testing is implied.