PNG or JPG for product labels? Compare small text at export size
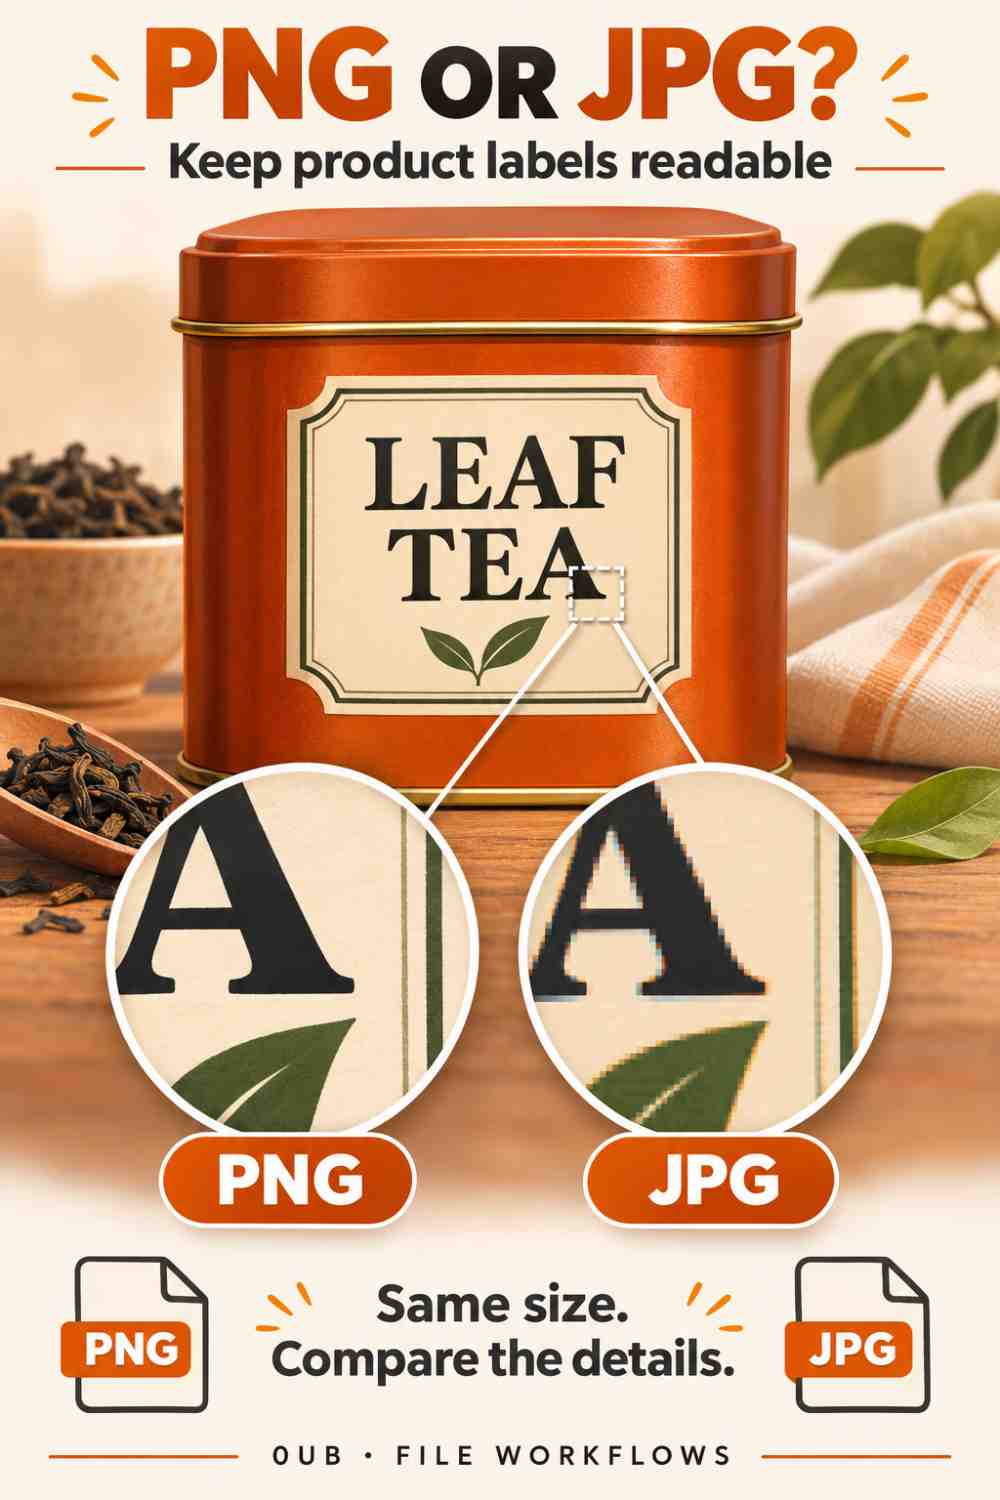
Choose an image format by checking the lettering and edges that matter. Compare PNG and JPG at the same dimensions before sharing product labels or graphics.
Should a product label image use PNG or JPG?
For a graphic dominated by lettering, simple shapes or sharp logo edges, PNG is often a useful starting point because it avoids additional lossy JPEG compression. For a photograph with a label inside the scene, JPG may still be a practical sharing format. Compare actual exports at the same pixel dimensions and judge the details your recipient needs to read.
Format alone does not determine readability. Source quality, output dimensions, compression and the receiving application's resizing can all affect the result. The illustration shows a conceptual edge comparison; it does not claim that every JPG is visibly damaged or that PNG can repair an already blurry label.
Separate a label graphic from a product photograph
An exported label design and a photograph of a labeled tea tin are different kinds of images. A design may contain clean text and large areas of flat color, while the photograph also contains lighting, reflections and fine surface texture. Start by deciding which information the image is meant to communicate.
Keep the editable design or highest-quality original. If the smallest ingredients line is unreadable in the source photograph, converting that photograph to PNG will not recreate the missing detail. Provide essential product specifications in ordinary page text as well, rather than requiring readers to extract them from the picture.
Make a fair PNG and JPG comparison
In the 0UB batch image studio, export a representative image in PNG and JPG using the same dimensions and resizing mode. Keep both copies clearly named in a review folder. Comparing a large PNG with a much smaller JPG would mix a size change with a format change.
Open both downloads at a comparable viewing scale. Inspect small letters, fine rules and the boundary between dark text and a light background. Look for halos, block patterns or softened strokes that interfere with reading. Also inspect the intended display size; an enlarged crop is diagnostic, but the normal reading view determines whether the result is useful.
Balance readability, transparency and file size
PNG can be useful when transparency is required; the 0UB tool fills transparent areas white when exporting JPG. Check the actual background in the downloaded copy before placing it on a colored page. PNG output does not use the JPG quality slider, so changing that control is not a way to tune PNG compression in this tool.
A JPG quality adjustment can change both visible compression and file size. If the destination has a size limit, compare a few representative exports rather than assuming either format will always be smaller. Confirm which formats the destination accepts before preparing a complete set of files.
Approve one sample before processing the folder
Use one demanding sample with small lettering before applying the choice to similar images. The studio offers single-file basic conversion, while multiple-file processing and ZIP download require the relevant signed-in Pro access. Keep the image format decision separate from the decision to use batch features.
Before handing over the final set, confirm dimensions, filenames, background and readable label details. If the receiving service recompresses images, inspect the uploaded result too. Keep originals outside the export folder so a later revision can start from the source instead of repeatedly recompressing an existing sharing copy.
Related guides
- PNG or JPG? Keep transparent product photos ready for export
- Compare JPG quality with one product photo first
- Pixels are not megabytes: prepare images for an upload limit
Prepared with AI assistance and reviewed against documented tool features; no firsthand testing is implied.