Split a mixed image folder into useful export groups
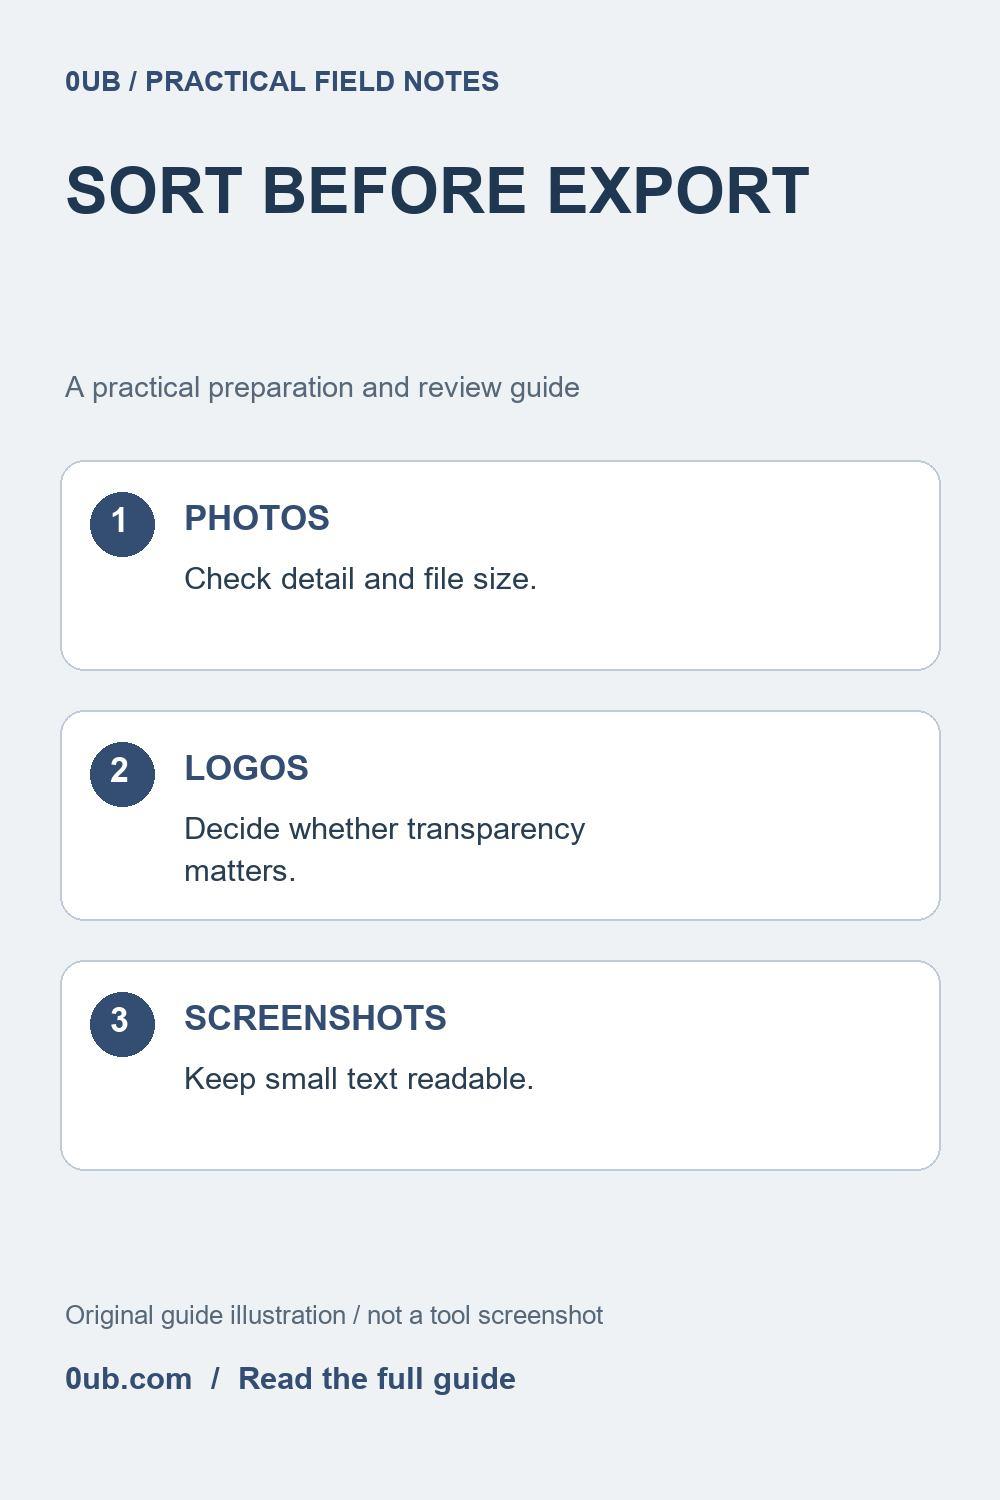
Photos, transparent logos and screenshots do not always need the same export settings. Sort a mixed folder by purpose before running a batch conversion.
Decide what each image is for
A folder for a small product launch might contain camera photos, a transparent logo and screenshots of instructions. Selecting everything together is convenient, but one output format and size rule may not suit every file. Start by writing down the purpose of each group: a product listing, a branded graphic or an explanatory guide.
Keep an untouched source folder. Make separate working folders or select one group at a time when using Batch image studio. The tool applies the chosen export settings to a run; it does not automatically understand which files are logos or which screenshots contain important text. This sorting step is a human decision.
Group photographs by destination
For photographs, identify the destination's dimensions, accepted formats and file-size limits. A photographic JPG may be suitable for a listing, but inspect a sample before applying the same settings to every photo. Fine texture and small packaging text can reveal compression problems that a simple image does not show.
Choose the size mode deliberately. Fit-inside can return an image smaller than the target box; crop can remove content at the edges; white padding adds space around the image. A front view and a very wide detail photo may need separate reviews even when they belong to the same product. Record the settings used for each accepted group.
Separate transparency and small text
If a logo needs a transparent background, keep a suitable transparent source and choose an output format that supports it. A JPG export cannot preserve transparency. In 0UB, white padding also creates a white canvas, so choosing PNG alone does not mean every export mode leaves the background transparent.
Screenshots deserve their own sample because small letters and thin lines behave differently from photographic detail. PNG is a useful starting point for text-heavy screenshots, provided the destination accepts it. Compare the actual result at the intended viewing size. Neither a format change nor an increase in pixel dimensions can restore details already lost in the source.
Name and review each exported group
Use descriptive folder names such as listing-photos, transparent-assets and guide-screenshots. If you choose a prefix and numbered filenames in Batch image studio, keep the output mapping with the source group. Avoid placing new exports into the original folder, where similarly named files become harder to distinguish.
Before handing off the results, check a representative file from each group and inspect any failed conversions. Confirm counts, dimensions and file sizes separately. Label the export folders by their intended use so the next person does not substitute a small guide image for a listing photograph. A batch is ready when its files fit the task, not merely when the progress indicator has finished.
Related guides
- PNG or JPG? Keep transparent product photos ready for export
- Keep screenshot text readable when preparing images to share
- Pixels are not megabytes: prepare images for an upload limit
Prepared with AI assistance and reviewed against documented tool features; no firsthand testing is implied.